Showing posts with label Charge. Show all posts

Friday, 28 September 2018

Charge

I am getting close to playing my first game with my classic Napoleonics. My plan is to the first Wargame rules I used as back in the late 60s.

So I have pulled my old copy of Charge from the shelves.


There have been a couple of blog were others have been using the Charge rules for Napoleonics. Firstly Keith F has been posting of his dining table games with one Stuart A. 

https://keefsblog.blogspot.com/2018/04/old-school-napoleonics-2.html?m=1

Andy C has been using Charge for his Shinyloo Project.

http://gloriouslittlesoldiers.blogspot.com/2018/07/shinyloo-two-bigger-longer-shinier.html?m=1

I have been reading the rules and have come up with some rule amendments I intend to try out.

Firstly I am going to downsize all units and measurements by 50% to fit in with my 24 figure battalions and 12 figure cavalry/light infantry units. Each unit will consists of 2 companies / squadrons which may act independently  if required

Secondly I am going to add morale rather than using the 50% rule. I going to use a variation of the morale rules used in Grants the  Wargame based on loses and officer casualties. 

Every time a player loses a figure roll a D6 for each figure lost. If you get at least one 6 then an officer is at risk. Any extra 6s are ignored. An officer at Risk is saved on a 5 or 6. I will mark Officer loses with an appropriate marker.

Morale is based on a basic unit value
7 Grenadiers and some better elites 
6 regular
5 militia and less well trained.

Every time a unit loses a figure/officer you have to take a morale check. 

- 1 for each have lost 1/6 strength lost
- 1 for each officer lost 
- 1 for each rally attempt (max 2 attempts)
Roll a D6 and add the units base morale. A unit needs to make a 6 or fails the morale check, if advancing the units halts and may not move or fire next turn, otherwise the unit routs.

A routed unit gets 2 chances to rally using tge standard morale test with a -1 on first attempt and -2 on second attempt.  A command officer may attach to the unit and adds 1 to the morale test.

The final change is to the infantry melee. Units in line/skirmish melee as usual with figure vs figure melee rolls.  If a column hits a line take the total number of figures in the column and divide by 2 rounding up.  The result is the number of melees that are fought as 2 to 1 individual combats against the defender. There can never be more melees than there figures in the defending unit. Remember that loses from firing as the unit charges in are added to the attackers loses when determining the melee victor.

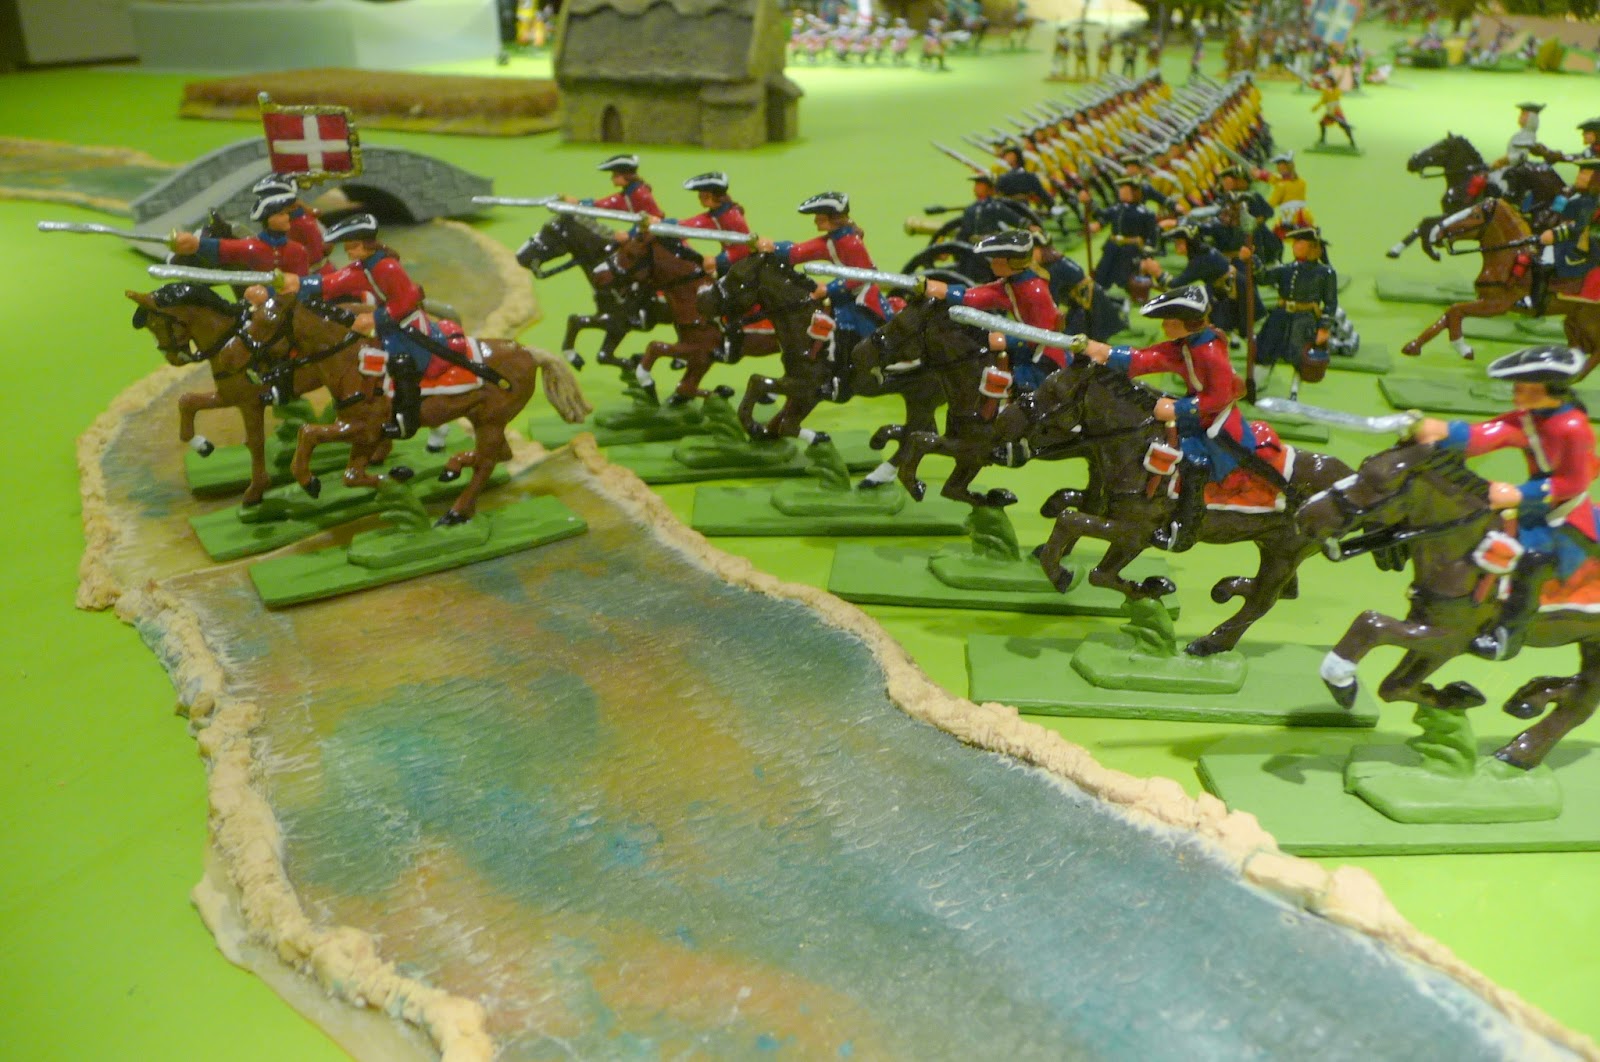
To test these rule changes I am planning my first small game  - Battle for the Bridge loosely based on Blasthof Bridge.

Monday, 9 February 2015

Birthday Battle

This weekend my son Max had 3 friends over for a small birthday celebration and for a spot of tea and wargaming.

I set up a small game up using the scenario - 'Action' from Charles Grants classic The War Game.

The 2 sides were equally balanced and consisted of the following.

The Electors army had

Liebgarden Infantry regiment
Hock Infantry regiment
Schuch Jäger Korps
Electors Garde Cuirassier
Artillery 

The Duchy of Calvados (the Imperialists) fielded

Brie Infantry regiment
Royal Bourssin regiment
Grenz de Moules
Rochefort Dragoons
Artillery

Infantry units had 24 figures plus 2 officers. Light infantry 9 figures and the cavalry 12. Artillery consisted of a single gun and 5 crew. Each army had a commander and Aide de Camp.

The rules used were the basic ones from Charge with a few amendments.

1. Rather than have an army quit the field  when it reached 50% I used the advance rules and units infantry and artillery retire when they reached 50% and Cavalry and Light units on reaching 33%.

2. I added Light Infantry and allowed them to move 9" in all terrain. They fired as skirmishes needing 6 to hit at range 6-9 inches. 5 or 6 at 3-6 inch range and 4,5, or 6 at 0-3 inch range.

3. Infantry and Light infantry who moved 3inches, or less, of their full move could fire. Moving a full move would mean a unit could not fire.


The Electoral army arrayed ready for the battle.


The Electoral Garde Cuirassier deployed on the left and the gun and light infantry on the right.


The Imperialists deployed their army as a mirror of their opponents.  This means that both sides cavalry faced their opponents light infantry and artillery.

The Infantry faced each other on the centre.


A close up of the Royal Boursson deployed for action. 

The game started with both sides advancing. The Imperialists drop their artillery first and halted their Infantry line.

The Imperialists opened up on the Electoral Garde Cuirassier causing the first casualty.

The Electoral army won't the dice toss at the start of the next turn and asked the Imperialists to move first, 

The Grenz de Moules quickly moved through the wood and occupied a small walled enclosure. This flanked the Electoral Garde Cuirassier who faced with either pulling back or advancing on the Imperial gun.  

They choose to advance.


Inspite of taking artillery roundshot and canister fire they charged home putting he gunners to the sword.

Meanwhile the Infantry clash had started with both sides trading volleys . 

Meanwhile the Rochfort Dragoons held back keeping the Schuch Jäger Korps in check but at a cost of casualties from the  Electoral artillery.

The Grenz de Moules, with no cavalry facing them, nimbly nipped across the low walls of the enclosure and moving 6  inches were able to flank the LiebGarden. 

The fire of the Grenz plus that of the Brie proves too much for the LiebGarden who reach 50% and are forced to retire. The Hock now find themselves outnumbered and although they get the better of the Royal Bourssin the end is quick. Next turn they too reach 50% loses. 

With both of his Infantry units in retreat and the Electoral Garde Cuirassier badly mauled the Elector Maximilian decides that he has seen enough and orders his remaing troops to retire.

The youngsters enjoyed themselves and there was interest in having another game this time with Tanks.  

Looks like my old western desert tanks, some dating from the early 70s, might see some action. Rapid Fire might be good choice of rules for the next game.

Sunday, 1 February 2015

Blasthof Bridge

Today we ventured over to Vapnartak at York. This years we put on a participation game - Blasthof Bridge - one of the all time classic scenarios from Charge or How to play Wargames by Messrs Young and Lawford.

The scenario and rules are a great introduction to Horse and Musket gaming and indeed where the rules I first used back in the late 60s with Airfix ACW figures.

The game was well received and we run the it 3 times during the course of the day.  In all we had 4 adults and 8 children joining in. My son Max also played all 3 games and helped with running the game. 

We had a very enjoyable day out at what is probably the best show up North.

I used Prince August 40mm home cast figures and green painted MDF boards. 

I think the game looked - what do you think ?


Tuesday, 23 October 2012

Return to Petreville


We played the second Petreville scenario from the Annexation of Chriaz using the Charge Rules.  This is a hard game for the relief force as not only are the numbers evenly matched by their attack is constrained by the narrow terrain 


General D'Euan pushes the bulk of the Duchy of Calvados forces forward but decides to advance on both sides of the River Cressay and use the South Bridge to re unite his forces for the final assault. 


The action hots up on both sides of the river. The Sbrinz are able to drive back the Calvadorian skirmishers but are unable to stop the Livarot Regiment as they are driven off with 50% loses. 

In the centre the Royal Boussin trade volleys with the Leibgarden.


'Advance' cries Colonel Roux as he leads forward the Bechemel Hussars to the attack


The Hock Regiment forms up ready for the Hussars attack 


However the Dolcelatte Dragoons counter charge and after 2 furious rounds of melee drive the Hussars back.  


In the final action of the battle the Livarot cross South Bridge form up and advance against the factory only to be blown away by a tremendous volley from the combined grenadiers companies garrisoning the works. 


General D'Euan decides to pull back his battered forces and call it a day. 

Wednesday, 26 September 2012

Blasthof Bridge

Having finished the second Petreville game on Friday (report to follow) my son Max was keen to play a  game. I decided to reach for the classics as being the right way to introduce him to Horse and Musket gaming. So we set up Blasthof Bridge, from Charge, and again used the elementary Charge rules as with our previous game.  


Max took command of the Imperial army and the role of Kornberg the dashing, impetuous, cavalryman.  The Imperial army deployed as per the book.  


I took command of the Electoral army and took on the demeanour and countance of this much maligned warrior - Soubise. 


For this game I offered very little advise to the young pretender but he showed a sound judgement. He  moved all his cavalry across the River Blast to form, in his words, 'one big unit of cavalry so he could beat mine'    


With movement stick in hand he moved his troops around with a the air of a pro. The stick was marked in 6 inch bands. None of those new fangled metric measurements as they teach them at school.  


His initial artillery shots were all misses (he threw three ones in a row). But on his fourth shot he hit. He rolled for effect - a six. One of my guns is bowled over.  


With one of my guns out of action Max now attacks with his cavalry. The melee is decisive with my cavalry losing heavily. 


My situation was not good - so I pushed my infantry across the river to join their comrades I had already moved across in an earlier turn. 


United my Infantry advance hoping to sweep away his outnumbered infantry on to victory. My advance commenced....


...only for his infantry to retire unveiling his re positioned artillery.  With no choice I gritted my teeth and continued my advance hoping that he would roll low for his musketry and cannister.   


He did not ......The Electoral Infantry fell where they stood.  With my loses now totalling over 50% the game was up and I conceded defeat.   

A couple of Maxs' friends are interested in having a go at this Wargaming lark - so perhaps it time for so more Ilkley Young School games. 


Friday, 21 September 2012

Action at Petreville Part 1


'Alarm, alarm' cries Etouffee as he calls the company to order.  With just a single company at his disposal this was going to be dammed tricky. Still there where opportunities even in this situation for a resourceful commander to get noticed. Perhaps a glorious, but futile defence, would get his name mentioned in dispatches and perhaps even notified on the bulletin board at Imperial Headquarters.  


Meanwhile the forces of the Electorate of Fustenberg Lederhosen mass for attack. With 3 regiments of infantry, a combined Grenadier regiment supported by a Cavalry regiment confidence was high that victory  would be easily gained and with it the stores holding the fine 'Sauce Chaud de Petreville' used through out the courts of Europe and a key Strategic bargaining condiment at the gastronomic peace talks that would follow the campaign.


The Electoral forces assault is supported by the Stollen Jager Corps (mercenaries hired from a small duchy north east of Prussia). These are lead by the well dressed and rather dapper Captain Stokes  - a veteran campaigner and all round good chap.


Mayor Etouffee decides that rather than trade volleys with the more numerous enemy to station his forces behind the ramparts ready to repel any attackers as they came up the assault ladders.  

The Sbrinz lead the way and gallantly scale the ladders. The melee along the wall is long drawn out affair with both sides taking heavy casualties   


 With the ramparts cleared the Sbrinz storm across and melee the thin line of defenders holding out in the central courtyard.  With loses reaching 60% the militia are forced to surrender but not before a final melee is fought between Etouffee and an Sbrinz infantryman.  The Electoral player rolls a 6 - the tension mounts as Etouffee himself shakes the dice and rolls it across the table. It spins around like a top before settling on a 5.  Etouffee has survived, an although captured, is assured of a bright future once a an officer exchange can be made after the campaign has finished     


Leading the way Etouffee marches at the head of the Saint Augur Militia who are granted the full honours of war for their gallant defence and leave with flags flying and shouldered muskets. 


Wednesday, 12 September 2012

The Annexation of Chiraz


Having seen Little John recent games using his 40mm Prince August figures with the classic Charge rules. 

 He has used the teasers from Charles S Grant Raid St Mihel booklet. I thought it was time I did the same  based on the Annexation of Chiraz book.  

I plan to play teasers 1, 3, 4 and 5 using the Charge rules.  My units consist of 40 foot figures and a Mounted CO. These will be broken down into 2 * 16 man companies and one 8 man grenadier company. The Grenadier companies can be combined. Cavalry will operate in 11 figure squadrons. With 2 units making a regiment.   

All Officers, standards etc will count as foot figures and will count towards volley fire/melee etc.      

So this lunchtime I  set up my table ready for a game on Friday.  I have set the table to be able to play  teasers 1 and 4 - back to back. 


The early morning sun shines on Petreville (OK its the spot light in my basement). It is a pleasant scene looking south across the village and the Arsenal


The Arsenal is garrisoned by a company of the Saint Augur militia . Who task is to protect the Arsenal. Here 2 guards are seen vigilantly watching the approaches from the North 


On this bright morning the local clock strikes 9.00 o'clock and the change of guard can be seen under the watchful eye Mayor Etouffee who keeps the garrison on their toes with his fiery language.  He turns muttering how this posting to the back of beyond leaves him cold and his frustration with inaction is clearly etched across his face. 
   

A wagon with a weeks production of Pepper Sauce leaves the Arsenal and the driver is bid farewell by one of the local ladies of the night. 


Mayor Etouffee lifts his head as the breeze from the North brings the heavy sent of an aroma oh so familiar. A smile creeps across his face as he turns and shouts - 'There is the smell of cavalry sh*t in the air my friends,  I think today will be quiet tasty after all' 


Sunday, 2 September 2012

Action at Trump Ville

I managed to get a quick game in with my Max, my 6 year old son, in the back yard as the weather was nice today. We used my small 30mm OS collection and the elementary rules from Charge with additional Light Infantry  rules added.  Max commanded the Imperial army while I commanded the smaller Electoral army 


A small Imperial raiding force is tasked with capturing the flour stocks from Win De Millars farm. With 2 companies of infantry and a squadron of Schuchs Dragoons the task should have been a stroll in the park. 


However the previous night a company of Electoral Infantry from the Erbprinz and a company of Jager move in to garrison the area.  


The Imperial forces deploy and plan to attack the woods with a company of the Kinski Infantry while  Schuchs dragoons are tasked with clearing the hedge line of the rest of the pesky Jager.   


The Imperial Infantry advance in the early morning mist towards De Miller Wood next to the mill. The first shots from the Jager are a medium range which lays low 3 of the Kinski. Who halt and return fire. The firefight he was to last a number of moves. 


With the bulk of the Jager engaged with the Kinski Max decides to throw his cavalry at the Jagers lining the hedge. Although 2 Dragoons are dropped as they close the resultant melee is one side with the Jager being cut down. 


The Imperial Infantry advance against the Erbprinz who open up at short range laying low 8 enemy infantry.


However the Erbprinz are about to face a nasty shock as the now rallied Dragoons threaten their flank. Two Dragoons are hit as they pass the Jager 


and they take further loses as the charge the Erbprinz flank guard. After the melee the Dragoons are are reduced to below 1/3 and retire.  The Erbrpinz and Jager are however close to being reduced to 1/2 ans 1/3 strength respectively and they decide to slip away.  


The Imperial army has captured the flour stocks but at a heavy price.